Outlook is arguably the best email platform for businesses today, offering powerful collaboration features and integrations. Now, suppose you want to export business data from your Outlook inbox.
In that case, you’ll have to do it manually, one email at a time. Data extraction becomes slow, tedious, and ultimately expensive for your company with dozens, hundreds, or even thousands of emails to process. But with a tool like Parserr, you can export Outlook emails to Excel automatically and accurately.
This guide explains how to extract email data to Excel with just a few clicks. Let’s get started!
Why Export Emails from Outlook to Excel?
Businesses need every piece of data flowing into their email inbox, from customer names and contacts to invoices, quotes, receipts, and more. You may need to export from Outlook to Excel to:
- Back up your valuable email data
- Distribute email data to other applications like CRM or email marketing software
- Share data across different departments in the company
- Migrate data to a new email server

Whatever your reason, you want to extract your emails quickly without damaging, altering, or losing the data. So, let’s explore the two main ways to export Outlook metadata to Excel: manually and automatically through email parsing.
Option 1: How to Export Emails from Outlook to Excel Manually
Step 1: Open your Outlook inbox, go to the File menu, and click “Open and Export.”
Step 2: Select the “Import/Export” option, then click on “Export to a file.” Choose Excel or .csv as your file type.
Step 3: Choose the folder to save your Excel file, then click “Finish.”
Step 4: Exit Outlook and navigate to the destination folder. Open the exported file in Excel to verify your extracted data.
- Note:
- This process works best for a one-off extraction to export just a handful of Outlook emails.
- Manual extraction also loses formatting details, so you’ll only have plain text data.
- If you need to extract large volumes of emails or run a bulk data export, proceed to the next step.
Option 2: How to Export Outlook Emails to Excel Automatically with Parserr
Parserr is a time-saving email extraction tool that automatically exports Outlook emails to Excel. Follow the simple steps below to set up your Parserr account and export your email data.
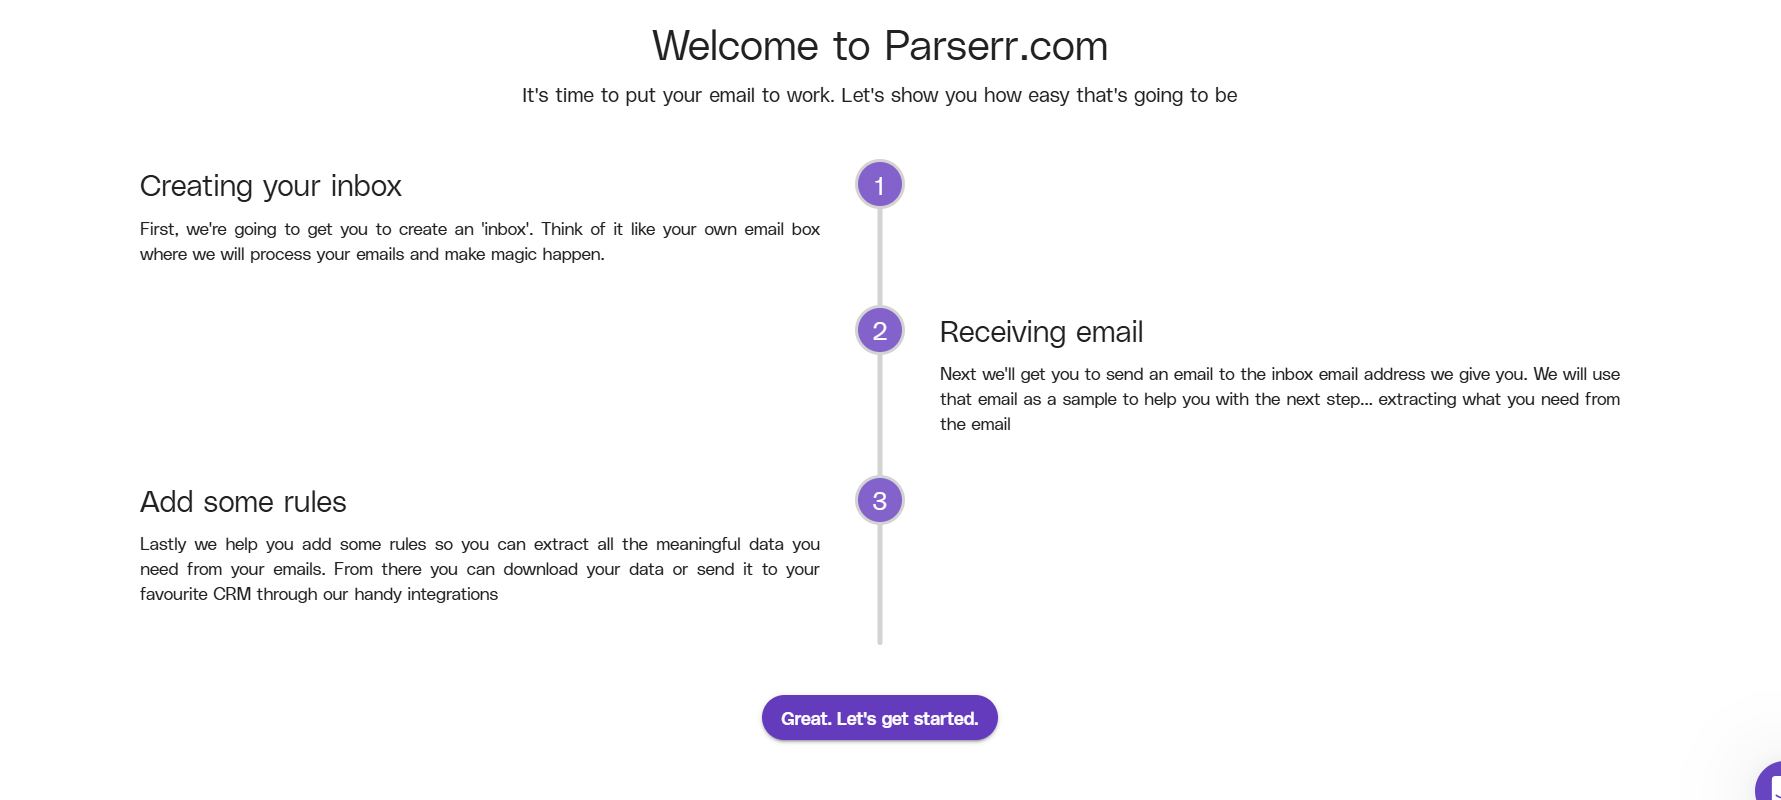
Step 1: Create Your Parserr Account and Inbox
First, sign up for your free Parserr account to get a unique “@mg.parserr.com” email address. Next, set up your Parserr inbox to receive your extracted emails from your Outlook account. Name your Parserr inbox, e.g., “Outlook Data,” and copy your Parserr email address to your clipboard.
Step 2: Select A Sample Email from Outlook
Navigate to your Outlook inbox and select an email you want to parse. This will serve as a test for your Parserr setup. Paste your Parserr email address in the recipient’s field and send. Your Parserr inbox immediately shows one (1) received email.
Step 3: Create Parsing Rules
Parsing rules are the instructions Parserr should follow when extracting your Outlook email data. As a rule of thumb, each parsing rule matches one column on your Excel spreadsheet. Parserr rules are easy to set up, so follow the steps below:
- Navigate to your Parserr inbox, select “Incoming emails” from the left panel, and set your test email as your sample for parsing.
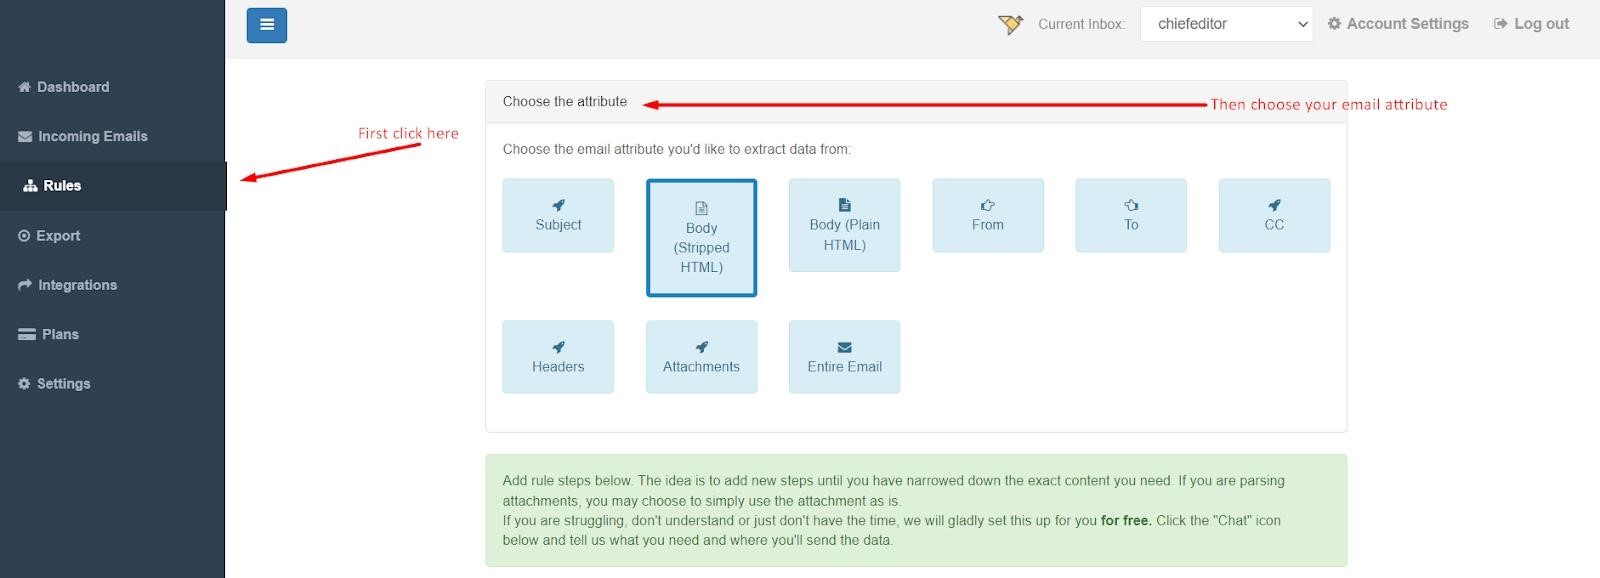
- Select “Add rules” from your Parserr dashboard to choose the types of data you need from your Outlook email.
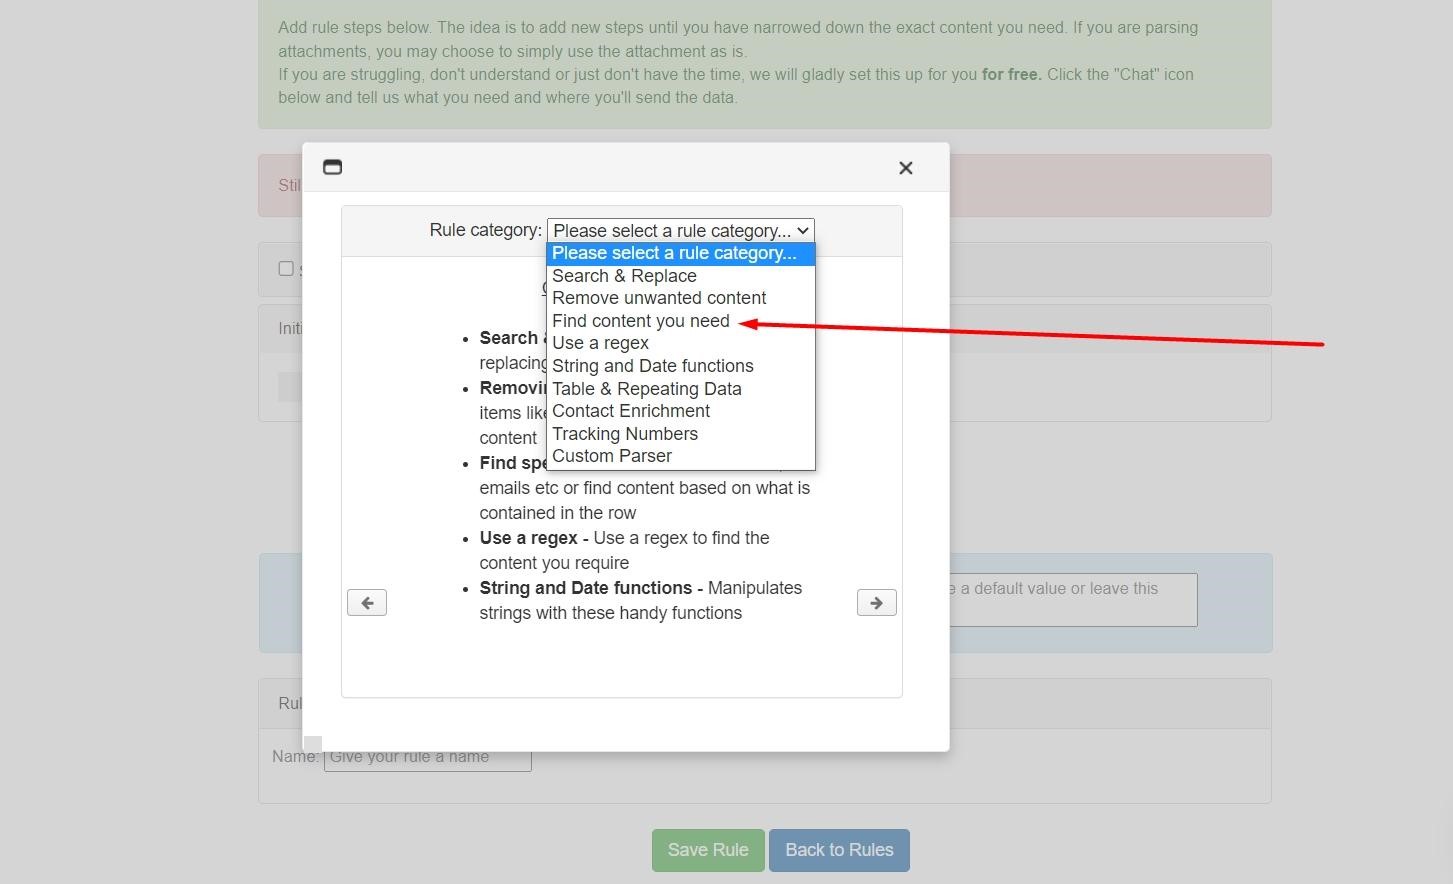
- Scroll down to the bottom of the page to the green plus (+) to open a pop-up menu.
- Out of the list of functions in the menu, select “Find content you need.”
Note: The “Find content you need” is not just one parsing rule but a group of functions. They help you select the data you want to extract from your Outlook emails in a user-friendly, zero-coding format.
Step 4: Choose the Functions that Match your Sample Email Format
Under the “Find content you need,” choose the parsing rules that extract your email content. These include:
- Find rows containing certain text: Use this rule if your sample email contains words in rows, such as an invoice or receipt.
- Find all URLs: If your sample email contains multiple URLs, this rule extracts each URL into its own row on your Excel spreadsheet.
- Find all URL titles: If you need the anchor text rather than the URL itself, use this rule to extract them.
- Find by line number: Use this rule to extract data on a specific line in your email, such as a parcel number on the third line.
- Find last row of content: Use this rule when the most vital information to parse is on the last row, regardless of how many total rows the data will occupy. For example, you may need contact information in your email signatures only.
- Find all email addresses: Use this rule to extract email addresses to build an email list, such as from web forms.
- Find all phone numbers: Use this rule if you have incoming emails with different phone number formats. Select the countries from a drop-down menu to extract the numbers accurately.
- Find address within a short sentence: Use this rule if your email contains a physical address, such as a pick-up or drop-off location.
- Find person’s name within a short sentence: Use this rule to divide a sender’s name in the body text into first and last names.
Note: These parsing rules work best for structured emails, meaning emails that follow a format. Invoices are a great example, but you can also extract data from job application emails, web form inquiries, surveys, newsletters, etc.
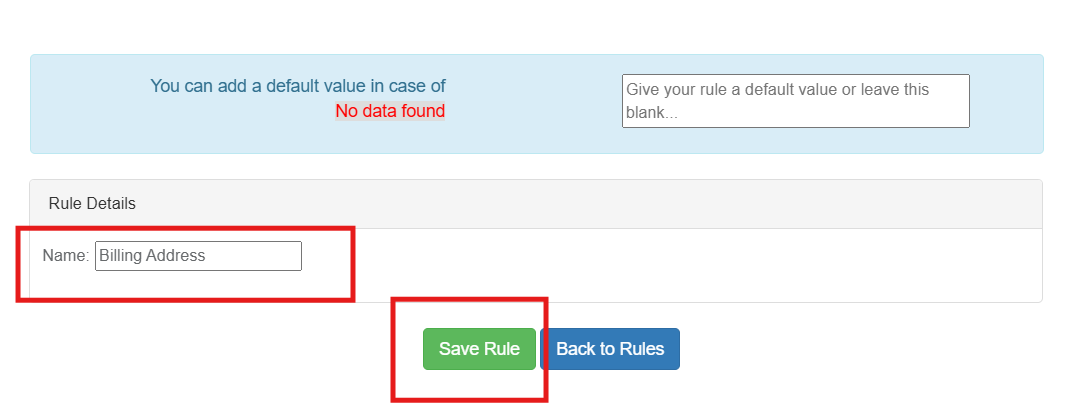
Step 5: Save your Parsing Rules
You can always tweak these rules if your email parsing test needs fine-tuning.
Step 6: Export your Parsed Outlook Data to Excel
To test your Parserr extraction rules, navigate to the left of the screen and click “Export parsed data.”
Next, check your Outlook email inbox for a new message titled “Parserr: Your Parserr export.” This message contains both an Excel file and a ZIP file attached. Open the spreadsheet to verify the exported data.
If you’re satisfied with the parsed data, set up “Automated export” to extract data automatically for every incoming email in your Outlook account. This way, you can export Outlook emails to Excel 24/7 for as long as the parsing rules work for your needs.
Step 7: Use Your Excel Data as You Wish
Once you discover how to export emails from Outlook to Excel, you’ll have accurate, up-to-date business data to feed into other applications in your business. You can target your marketing campaigns, update your inventory, categorize and distribute leads to your sales team, or upload the data to a secure cloud storage solution as a backup. And that’s it!
How To Set Up Automated Forwarding in Outlook
Another great Outlook email feature is automated forwarding. You can instruct Outlook to automatically send your incoming emails to your Parserr email if they fit the parsed sample format.
Let’s say you set up parsing rules for your “Contact Us” web form to extract lead data. When you enable forwarding in your Outlook email, you can automatically export Outlook 2016 emails to Parserr for extraction immediately upon arrival. You can then discover how to export Outlook folder to Excel to parse existing emails in your inbox.
Automated forwarding is highly recommended because you can just set it and forget it. Once you configure your inbox to export Outlook emails to Excel, you’ll never worry about bulk email processing or manual data entry again. This is how automation brings invaluable resource savings for every business, making Parserr a must-have in your company.
Can I Forward Emails from Outlook to Spreadsheets?
You can certainly forward your Outlook emails for parsing if you use an alternative spreadsheet solution like Google Sheets. Parserr has a Google Sheets integration that you can set up in a few easy steps:
- Create your Parserr account and inbox as described above.
- Sign into your Google account, open Google Sheets, and select your spreadsheet.
- On your Parserr dashboard, connect your Google spreadsheet to your parsing rules to create rows and columns for your email data.
- Test your parsing setup by sending a sample email from Outlook to your Parserr inbox.
- Open your Google spreadsheet to confirm the parsed data, then automate your Outlook inbox to forward all incoming emails to Google Sheets.
One thing to keep in mind
One thing we can’t do, however, is set up the automated Outlook email forwarding. Remember that you’ll need to ensure that every email you want to be parsed is automatically sent to Parserr. You can refer to this helpful resource to get it moving.