For this to work you need at least one parsed email including all the data you want parsed setup (ie. all the required rules you need).
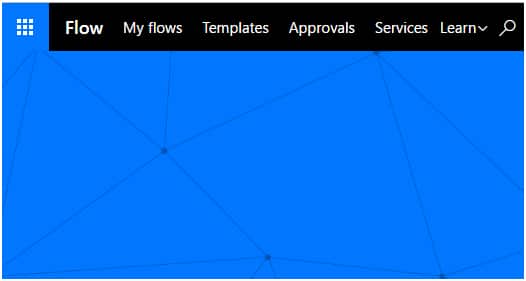
- Login to Microsoft Flow here. If you don’t have an account, you can simply sign up for a new one here. Once you have signed up you should be greeted by the home page. In the top left of the page click on “My Flows”
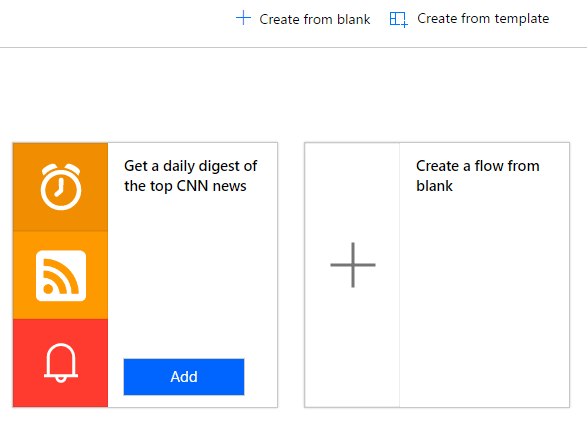
- Click on “Create from blank” at the top of the page
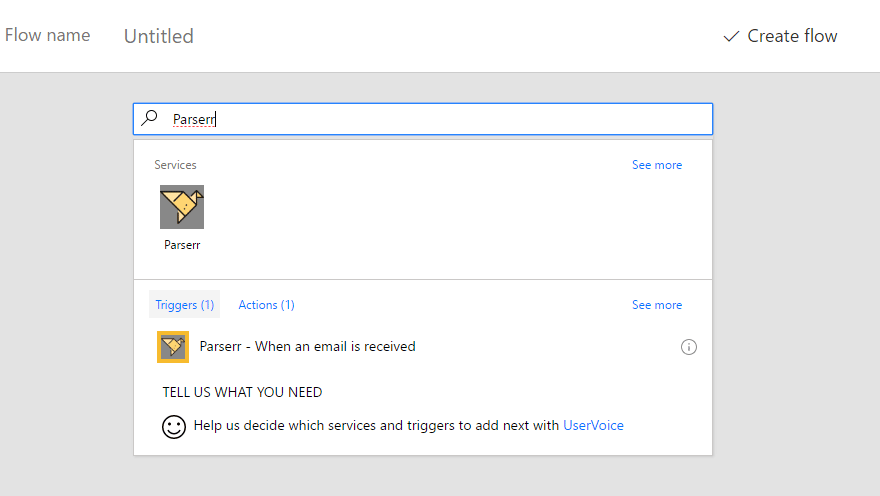
- Search for “Parserr” in the services and triggers search box, and choose the “Trigger” , “When an email is received”
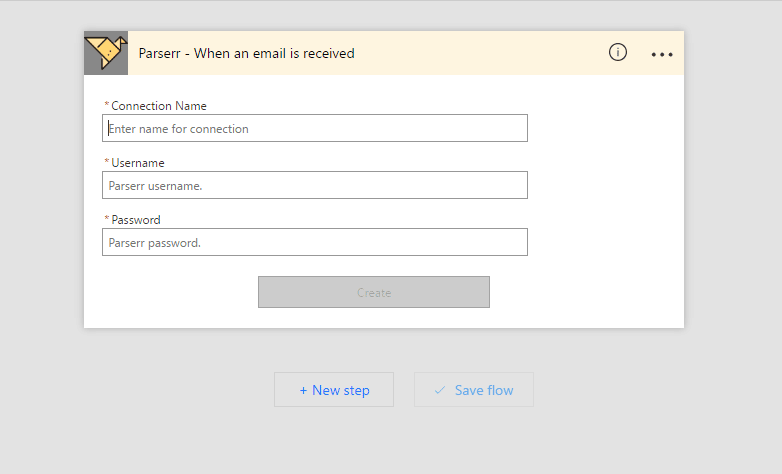
- Type your “Connection Name”, as “Parserr” and then your username and password should be exactly the same as the ones you use with Parserr. Click the “Create” button
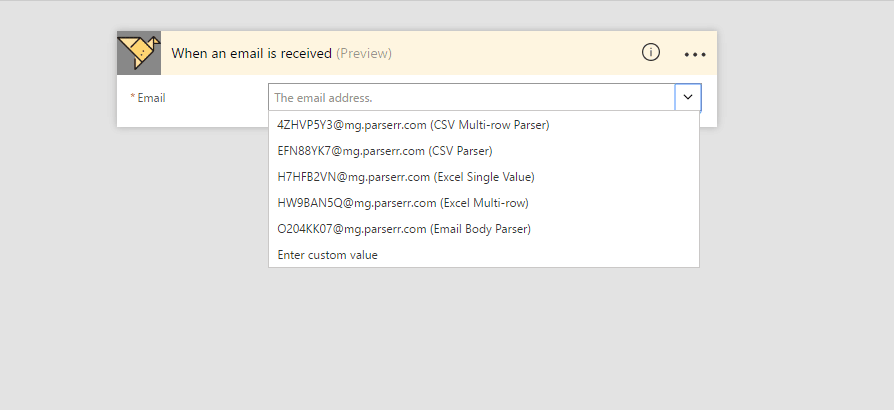
- You should now be able to see a list of “Inboxes” from your Parserr account. (If you get no values, it is most likely that your Parserr username and password were incorrectly filled out on the previous step. Don’t type the email address in, for the integration to work, Flow needs to correctly authenticate to Parserr. Try to reset your password in Parserr if you don’t remember it)
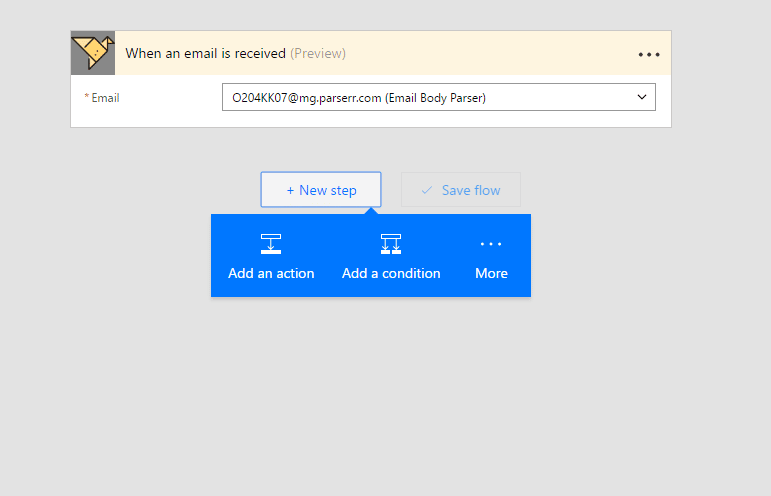
- Once you have chosen your “Inbox”, click on “New Step” and “Add an action”. This will allow us to act on receiving an email in Parserr.
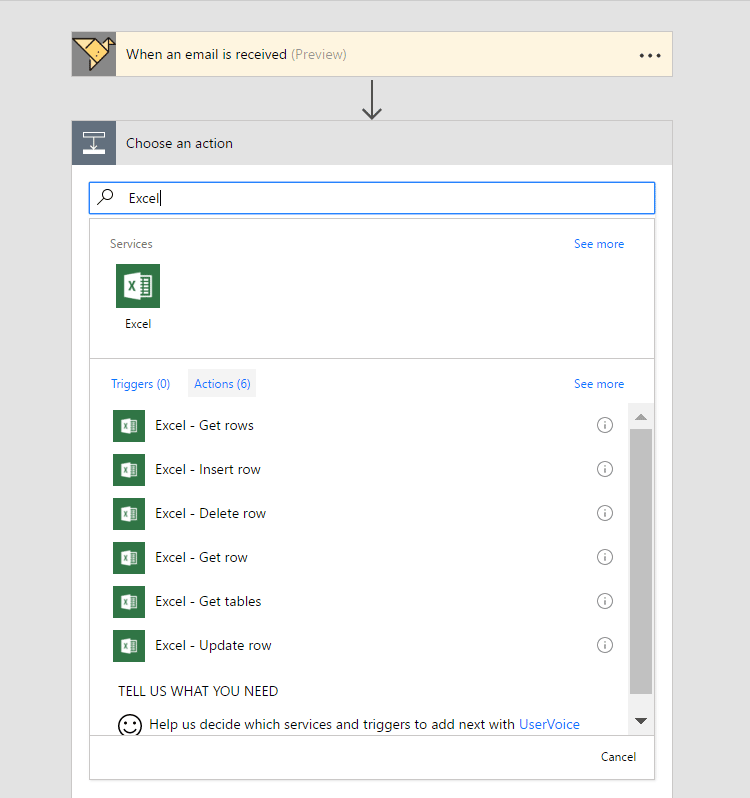
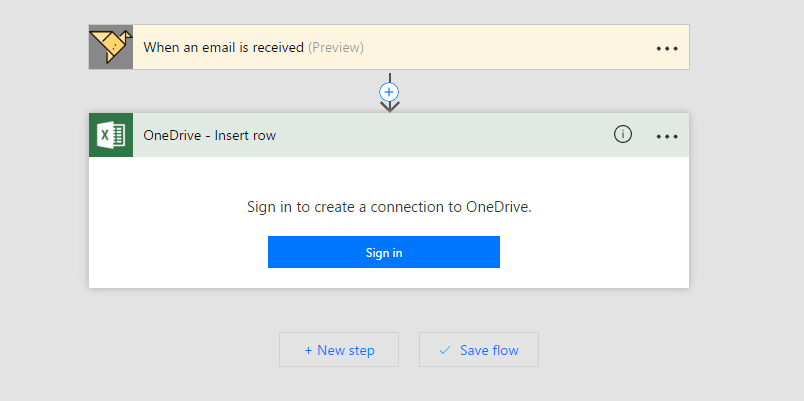
- For this example, we will be using Microsoft Excel. However you can use your parsed data within any service offered by Microsoft Flow. Choose to “Insert row” as your action.
- Choose the location of your Excel document. For this example, we will connect to an Excel document in OneDrive. Although this document could live anywhere.
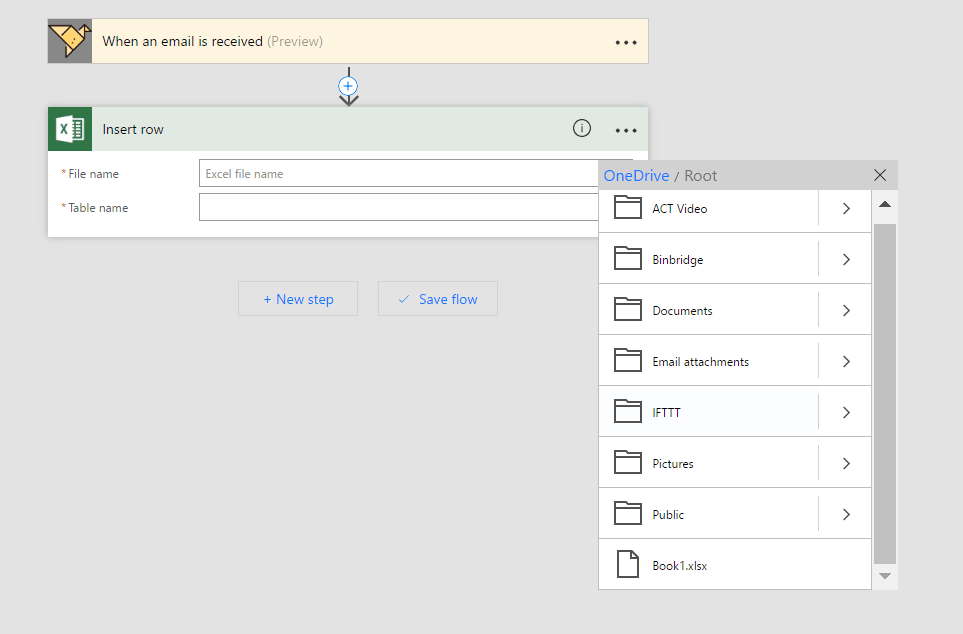
- Once you’ve correctly authenticated to OneDrive (or to the location of your Excel doc), you should see a familiar layout:
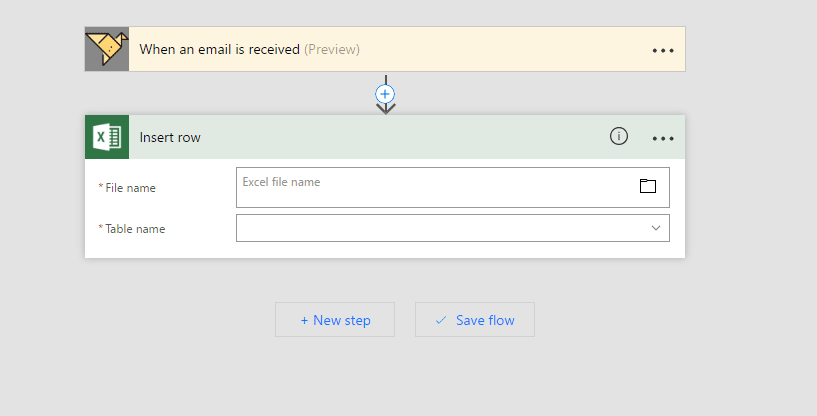
- Choose the Excel file you would like to insert your rows into. If you haven’t created a file already, make sure you create one and insert a table into the excel file in the location of where you would like the parsed data to go. NB The file needs to be closed (not open in any tab or on your desktop anywhere when the flow runs MS Flow needs sole access to the file when executing)
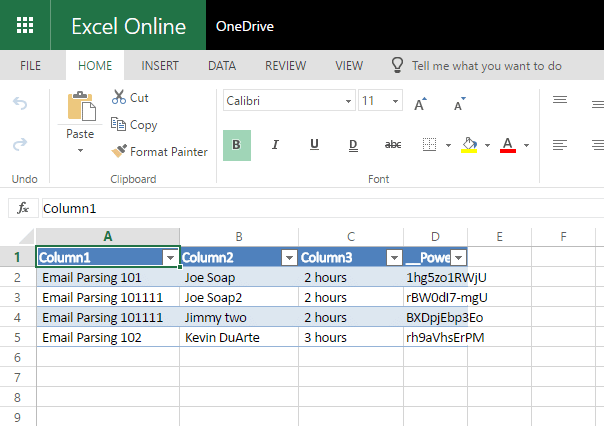
- An extract of our Excel file before we start the Flow. Make sure it is closed when you are finished inserting the table
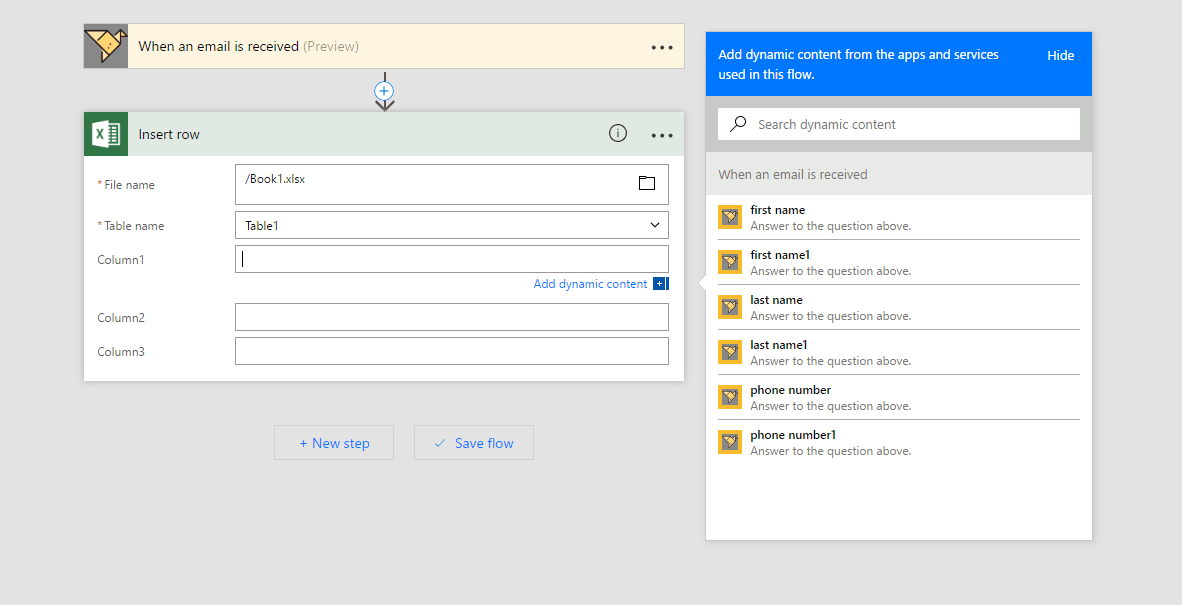
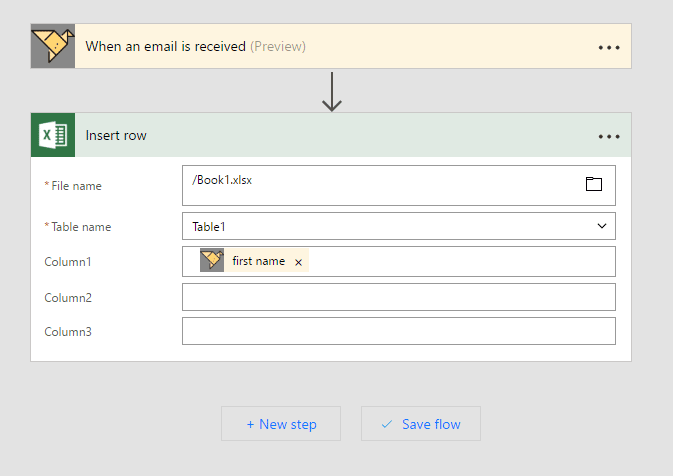
- Choose the name of your table within the Excel document. The right panel shows dynamic content which originate from the rules created within Parserr. These rules represent the extracted content for each of your incoming emails. In the example below we have the option of using a number of different fields (eg “first name”, “last name” etc) from the incoming email in your Excel doc.
- Save your Flow by clicking the “Save Flow” button.
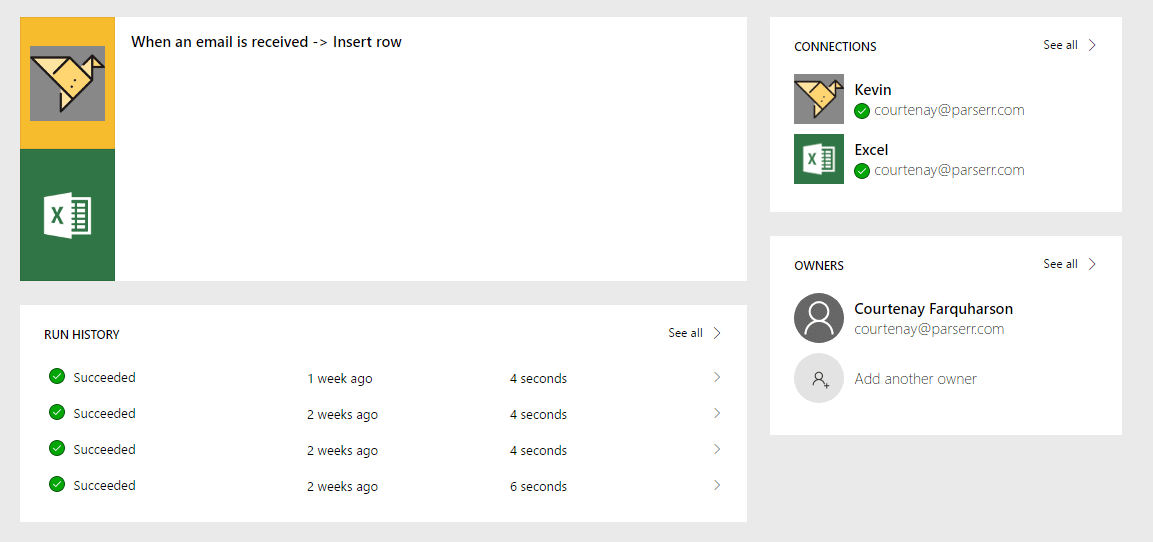
- Test your Flow by sending an email to Parserr. You should see a run complete in Microsoft Flow on your dashboard:
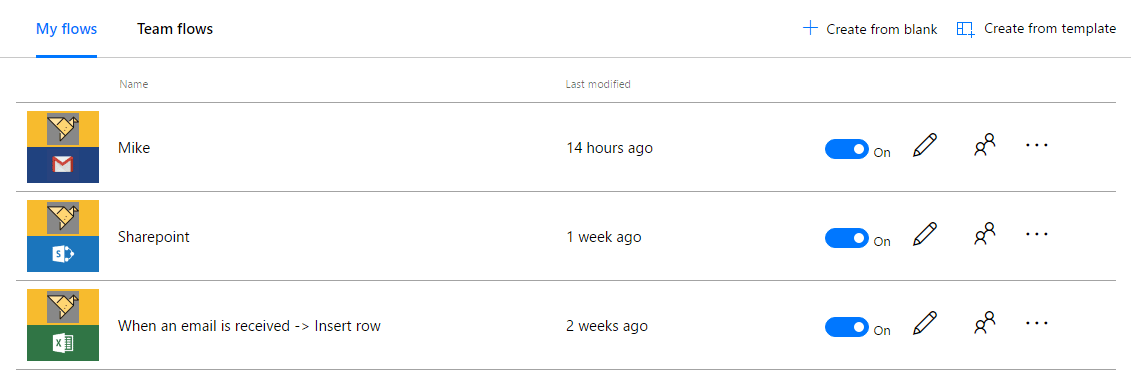
- Click on the Icon of your flow to see the completed runs: